Field notes / 2026-07-23
Farm Layout and Sprinkler Guide
Optimize your Coral Island farm with efficient sprinkler layouts, crop zone planning, and building placement for maximum automation and profit.
Original editorial guide
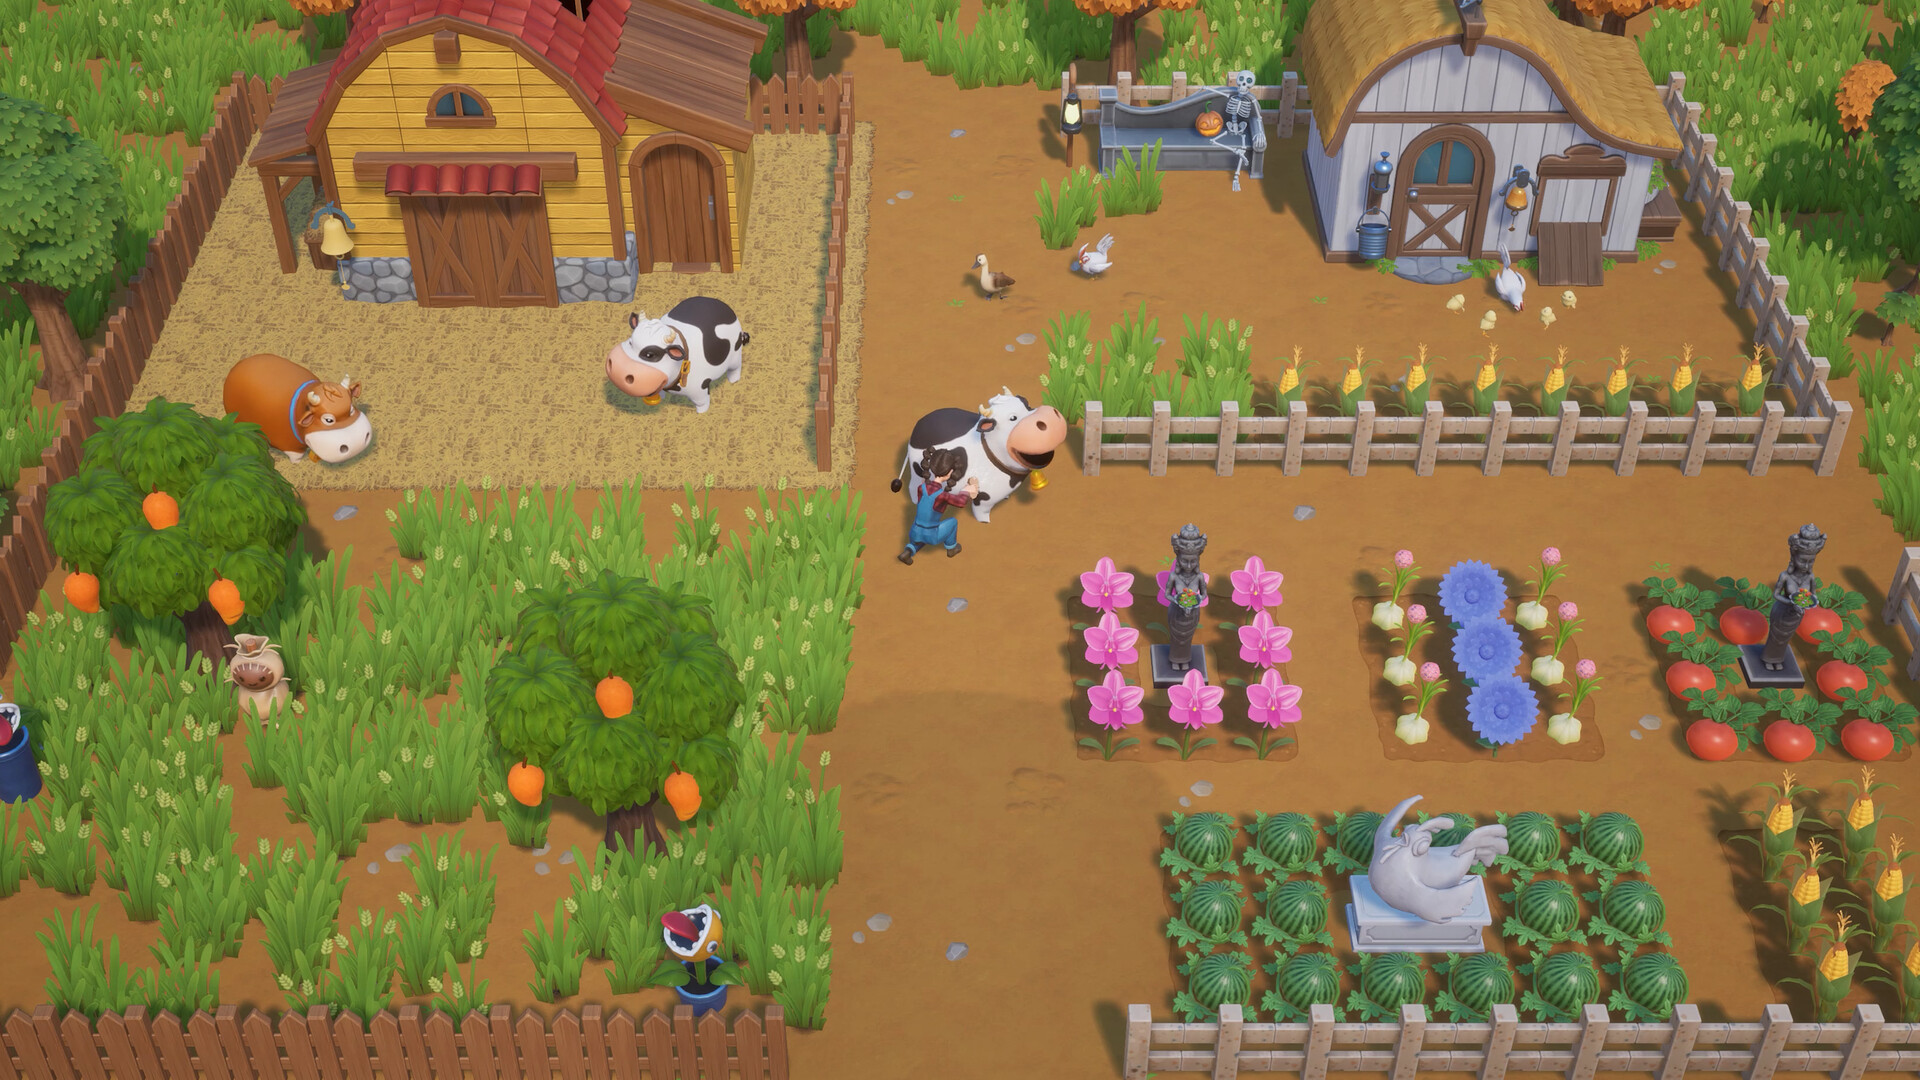
Farm layout optimization is the key to scaling from manual watering to fully automated farming. This guide covers sprinkler types, placement patterns, and zone planning.
Sprinkler types in Coral Island:
- Basic Sprinkler: Waters 4 adjacent tiles (cross pattern). The starter sprinkler. Low cost but inefficient — takes up valuable crop space.
- Quality Sprinkler: Waters a 3x3 area (8 surrounding tiles + center). Good mid-game option. More efficient than basic but still occupies one crop tile.
- Iridium Sprinkler: Waters a 5x5 area (24 surrounding tiles). The endgame sprinkler. Maximizes crop-to-sprinkler ratio.
Sprinkler crafting materials:
- Basic: Copper bar, refined quartz
- Quality: Iron bar, gold bar, refined quartz
- Iridium: Gold bar, iridium bar, battery pack
- Materials come from mining (ores) and diving (kelp essence for crafting upgrades)
Optimal sprinkler layouts:
Basic Sprinkler pattern (cross-shaped, 4 tiles watered):
- Place in a staggered grid with 3-tile spacing
- Each sprinkler waters 4 crops
- Inefficient for space, but cheap and accessible early game
- Best used in Year 1 Spring before better sprinklers are available
Quality Sprinkler pattern (3x3 area, 8 tiles watered):
- Place in a grid with 3-tile spacing between sprinklers
- Each sprinkler waters 8 surrounding crops
- Efficient enough for mid-game farms
- Place on the edge of crop zones to minimize wasted tiles
Iridium Sprinkler pattern (5x5 area, 24 tiles watered):
- Place in a grid with 5-tile spacing
- Each sprinkler waters 24 surrounding crops
- Maximum efficiency — only 1 tile lost per 25 tiles (4% loss)
- The endgame standard. Aim to replace all lower-tier sprinklers with Iridium as soon as possible
Farm zone planning:
Divide your farm into dedicated zones for maximum efficiency:
- Crop zone: Largest area. Use Iridium sprinklers in a grid pattern. Designate sub-zones per season for rotation.
- Processing zone: Cluster all artisan machines (kegs, jars, honey houses, aging barrels) near the farm entrance for easy access. Place in rows for visual clarity.
- Animal zone: Place coops and barns near grassy areas. Fence optional. Ensure easy path to feed troughs.
- Storage zone: Place chests near the shipping bin. Consider a dedicated shed for bulk storage.
- Sapling orchard: Plant fruit tree saplings along the farm perimeter or in a dedicated orchard zone. Trees do not need sprinklers.
- Decorative zone: Paths, fences, and decorative items. Use stone paths (2 tiles wide) as main routes connecting all zones.
Scarecrow placement:
- Scarecrows protect crops from crows in a radius
- Place one scarecrow per crop zone, centered
- Overlapping coverage is wasteful — space them to cover distinct zones
- Monster Scarecrow (special variant) can be purchased from the Concerned Monkey
Greenhouse layout:
- The greenhouse is unlocked at Town Rank B
- It provides year-round growing regardless of season
- Use Iridium sprinklers inside — 6 sprinklers cover the entire 12x10 grid with only 4 tiles lost (3.3%)
- Reserve greenhouse space for the highest-value crops: Cactus (for honey → mead chain), or off-season crops needed for offerings
- Quality Sprinklers are a budget alternative: 16 sprinklers, 12 tiles lost (10%)
Automation tips:
- Upgrade tools during winter when farming demand is low
- Build sprinklers gradually — replace Basic with Quality, then Quality with Iridium
- Prioritise Iridium Sprinklers for the greenhouse first (permanent, highest-value space)
- Use the Windmill to convert fiber to hay for winter animal feed
- Place sap collectors on maple, pine, and oak trees for passive resin/syrup income
Path optimization:
- Main paths should be 2 tiles wide for smooth movement
- Use stone flooring for main routes (durable, clean appearance)
- Bridges are needed for river farm layouts — one every 5 tiles of water
- Connect all zones in a loop to reduce backtracking